The quilt I am going to share with you is a baby quilt for one of the young couples who work for me. Trina has in the past house and cat sat for me. She has been in our lives for a long time. But honestly, all the guys and gals who work in the corporate office who have had babies have received a baby quilt from me. Obviously, I try to do one for all family and friends. The gifting to my co-workers started almost 12 years ago when I found out that one of the gals who work in one of our stores had no living family. I felt the need to give her something handmade to help her with her first child. It was a mighty big project for me at the time, but it was so well received and appreciated, that I started doing that for all my co-workers. But we grew so much in that time (We only had 30 employees back then), that I can’t do it for everyone anymore. There was 15 new babies born to employees of the company in 2017 alone! Anyway, back to Trina and Obie. I made a quilt last year with this Frayed 4-patch and I loved how you could have a focus fabric and have a striking quilt. So I went through my stash and came across a gecko fabric that I originally had purchased to make a pillow for my grandson Shaun. 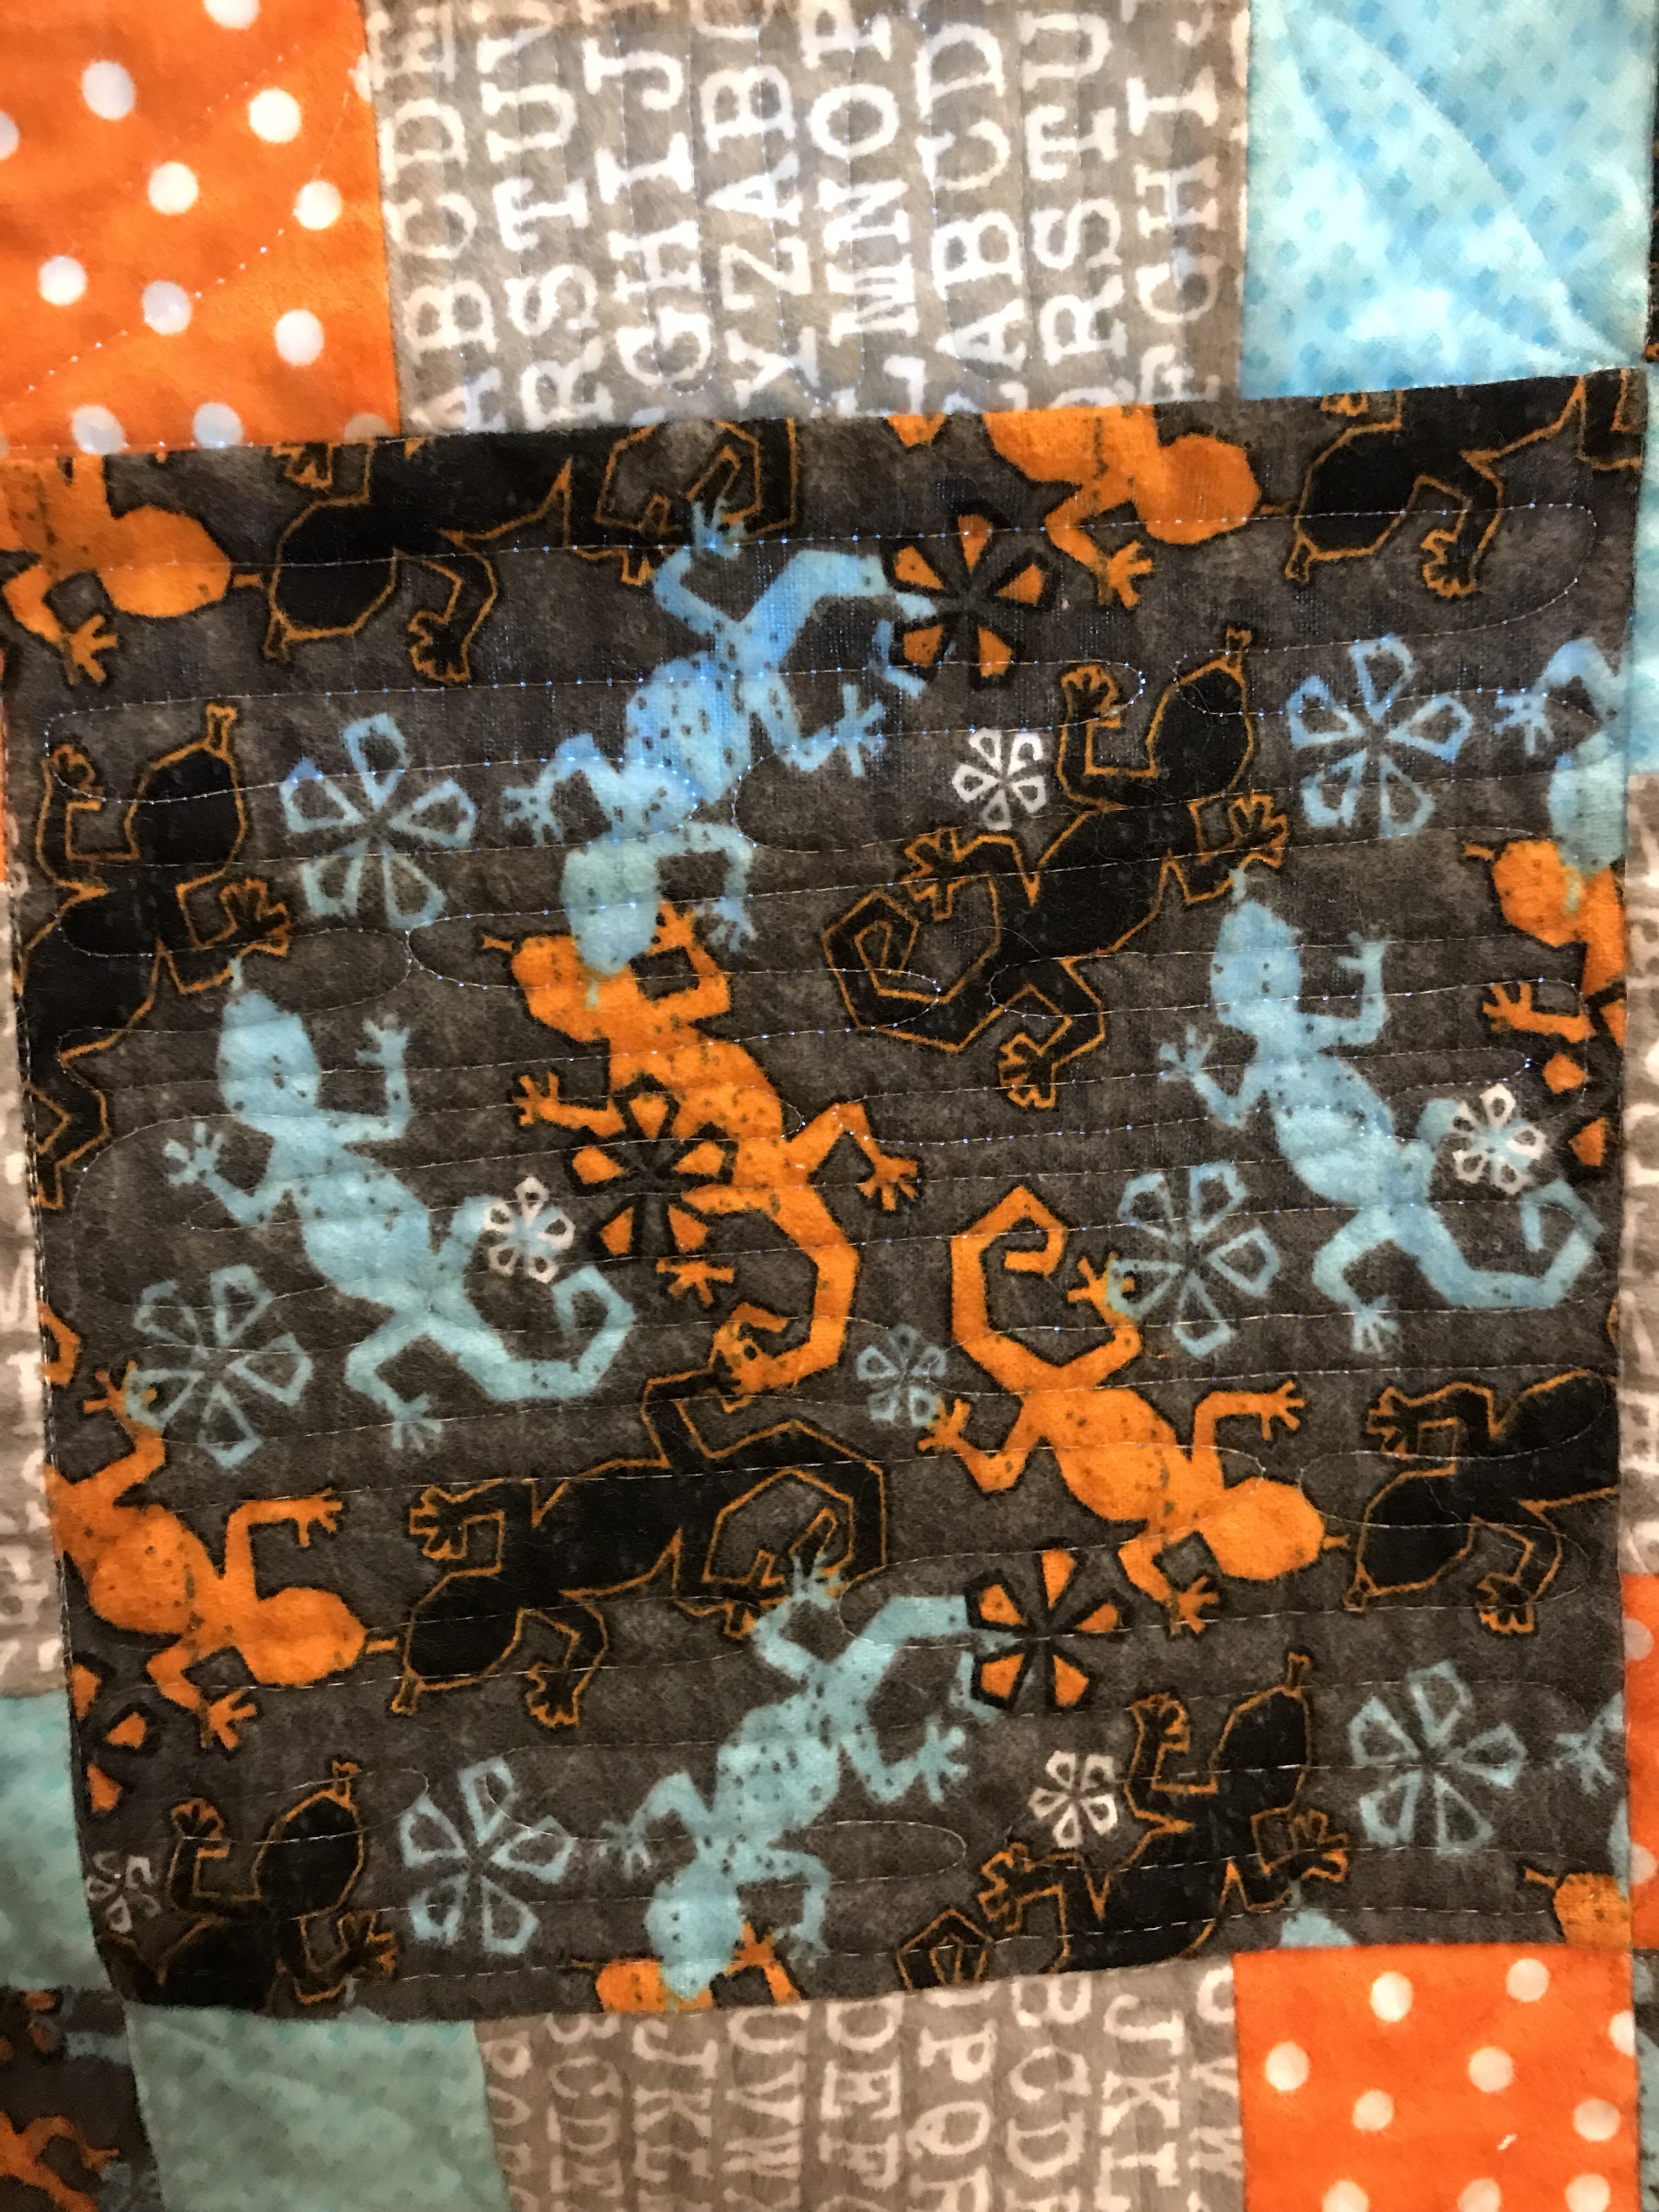
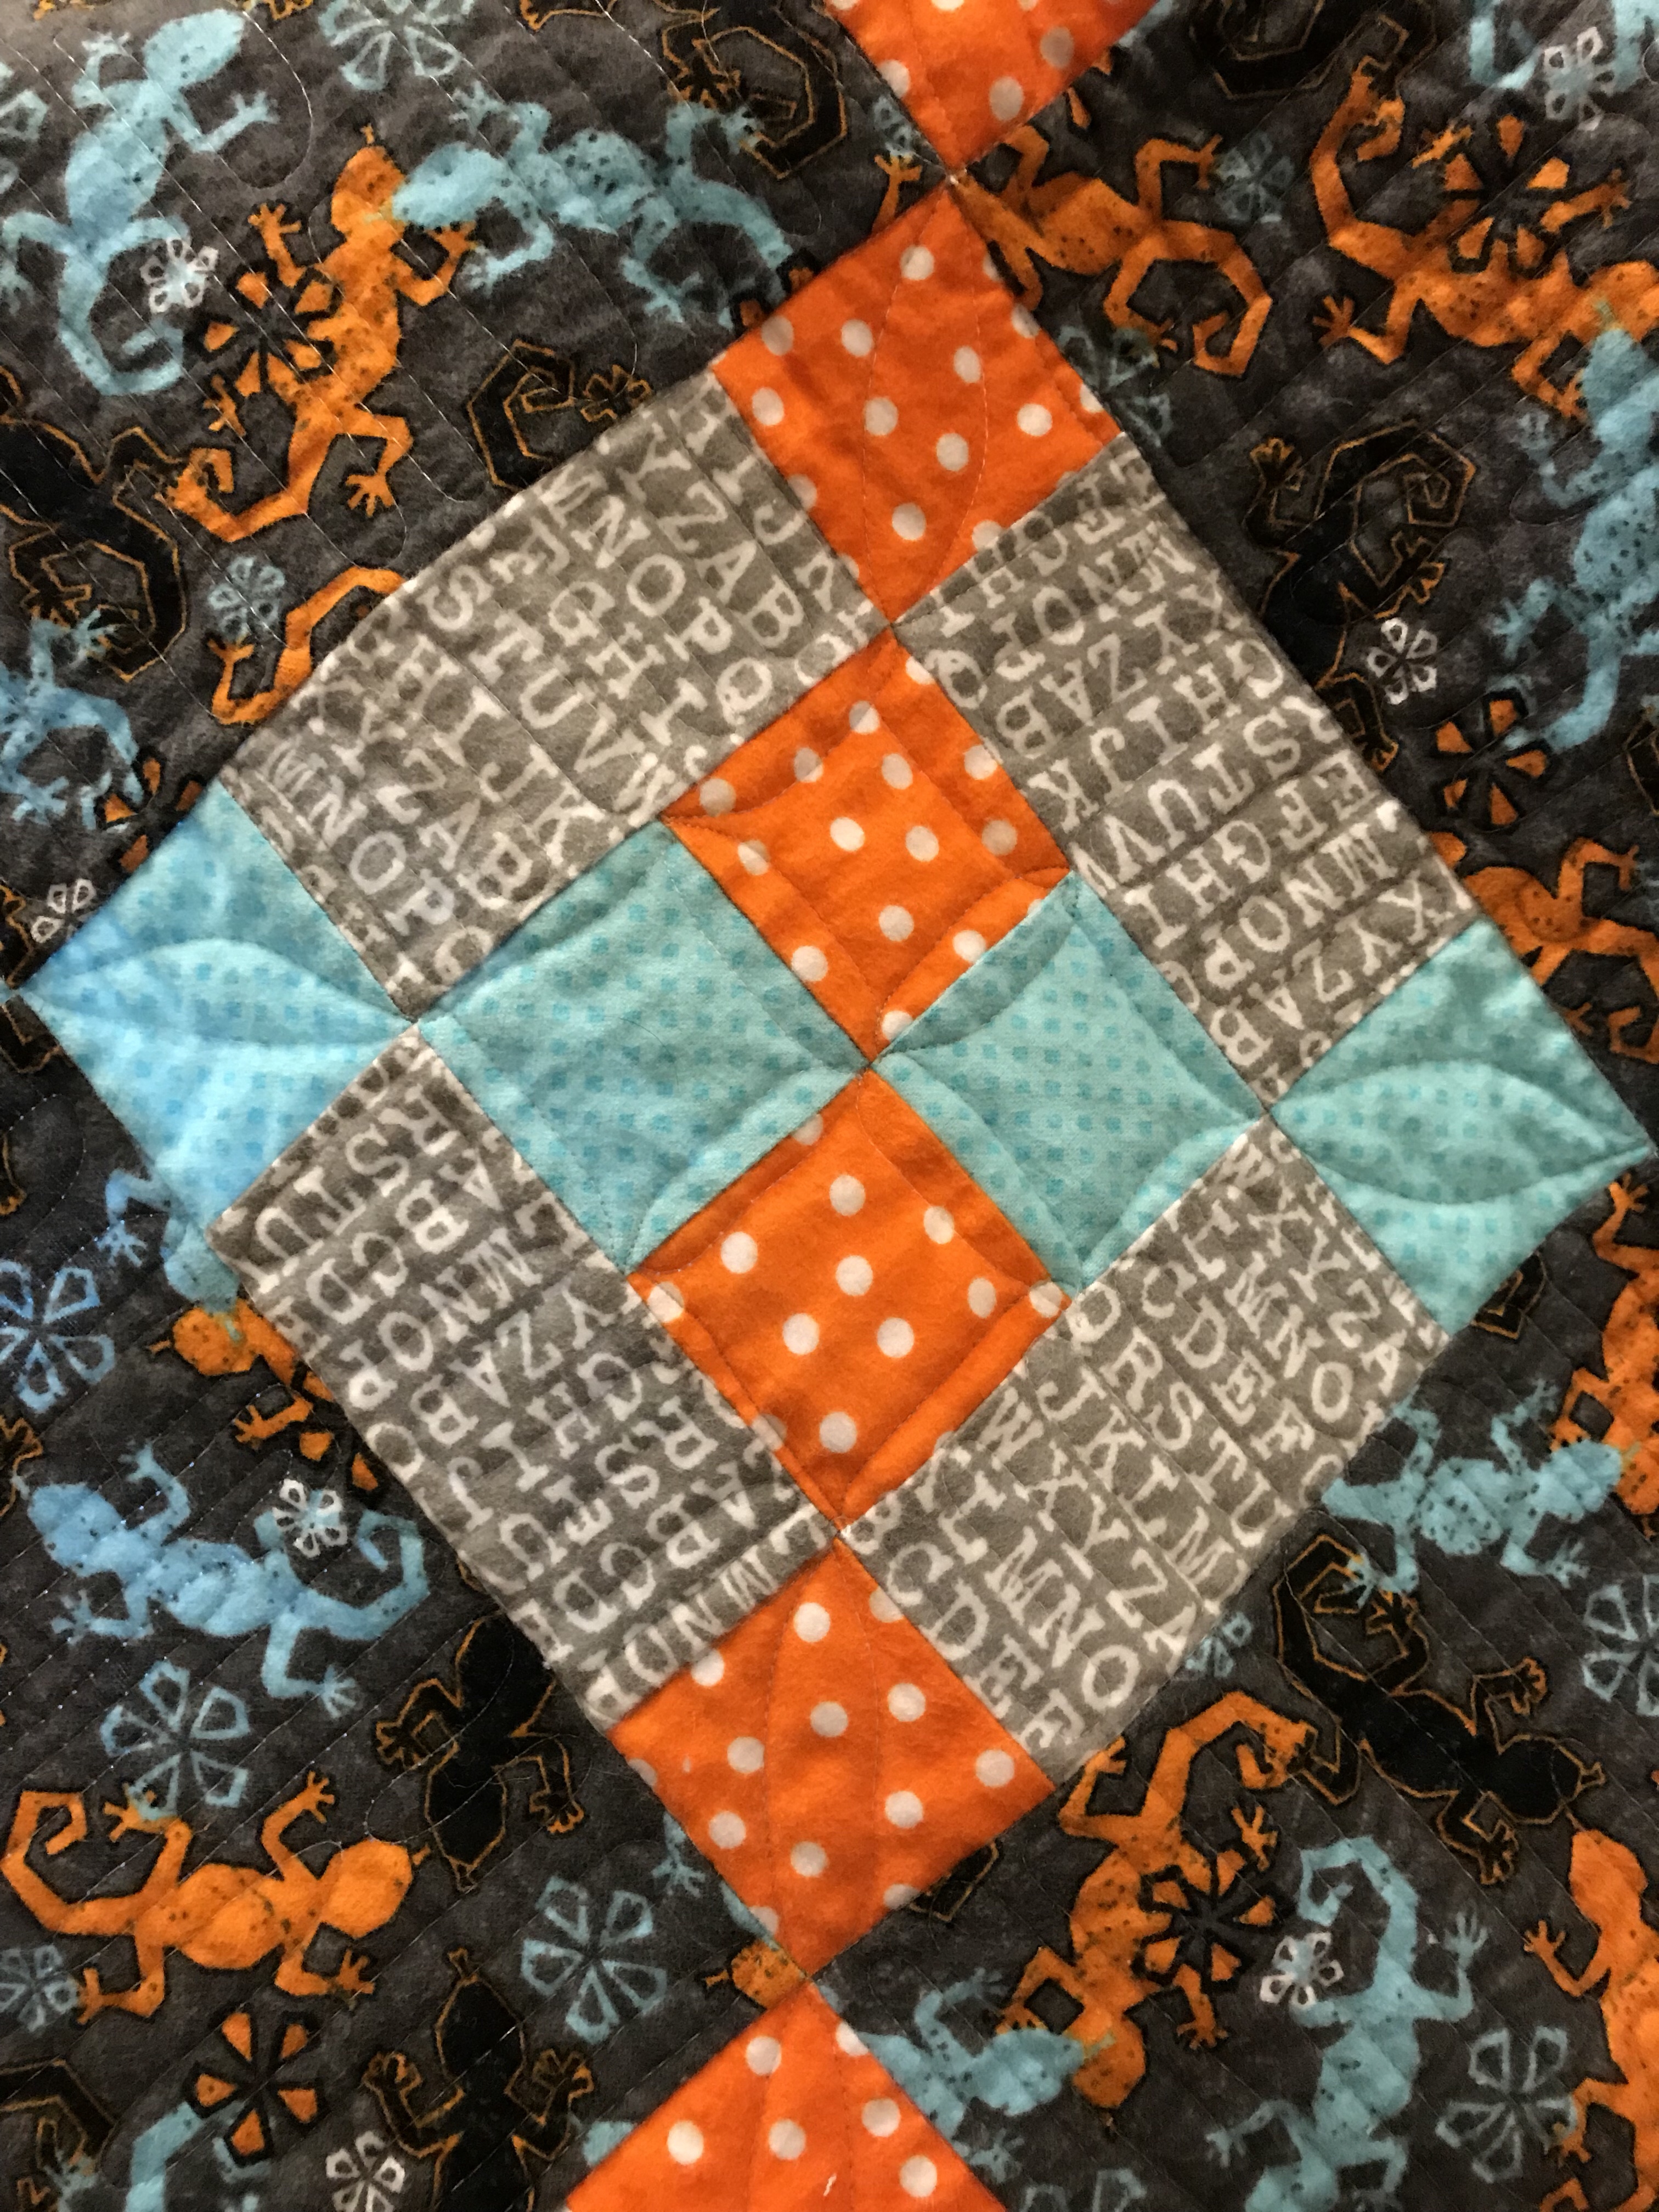
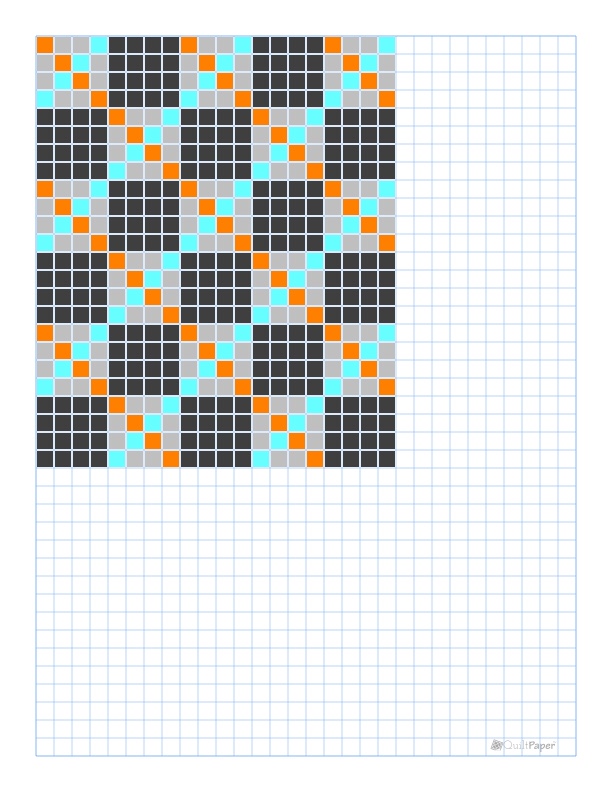
Here is a closeup of the gecko fabric and the quilting on the block. I used an app called quilt paper to do the basic quilt design, an app called Noteability for the new iPad Pro to document and plan, and Robert Hoffman app called Quilting Calc to aid me in determining how much yardage for blocks, borders, backing, binding, etc. This quilt consisted of 15 plain 8.5″ gecko squares and 15 frayed 4 patch 8.5″ unfinished blocks. For this quilt the only fabric I happened to purchase was the gray fabric and since I purchased fabric online, I ordered a couple of gray flannel that seemed to be good blenders. Below is a shot of the Frayed 4 patch block.
Fabric required for this quilt:
1/3 yd each of orange & turquoise flannel fabric: Cut 4 – 2.5″ strips of each color: Subcut into 60 – 2.5″ squares
1/2 yard of gray flannel fabric: Cut 4 – 4.5″ strips: Subcut into 60 – 2.5″ x 4.5″ rectangles
3/4 yard of focus gecko fabric: Cut 3 – 8.5″ strips: Subcut into 15 – 8.5″ squares
3/8 yard for inner white border: Cut 5 – 2.5″ strips
7/8 yard for outer gray border: Cut 7 – 4.5″ strips
1/2 yard for binding: cut 6 – 2.5″ strips or 236 inches of binding if you are using scraps like I did to piece your binding
3 5/6 yards for backing (if you don’t want to piece the back)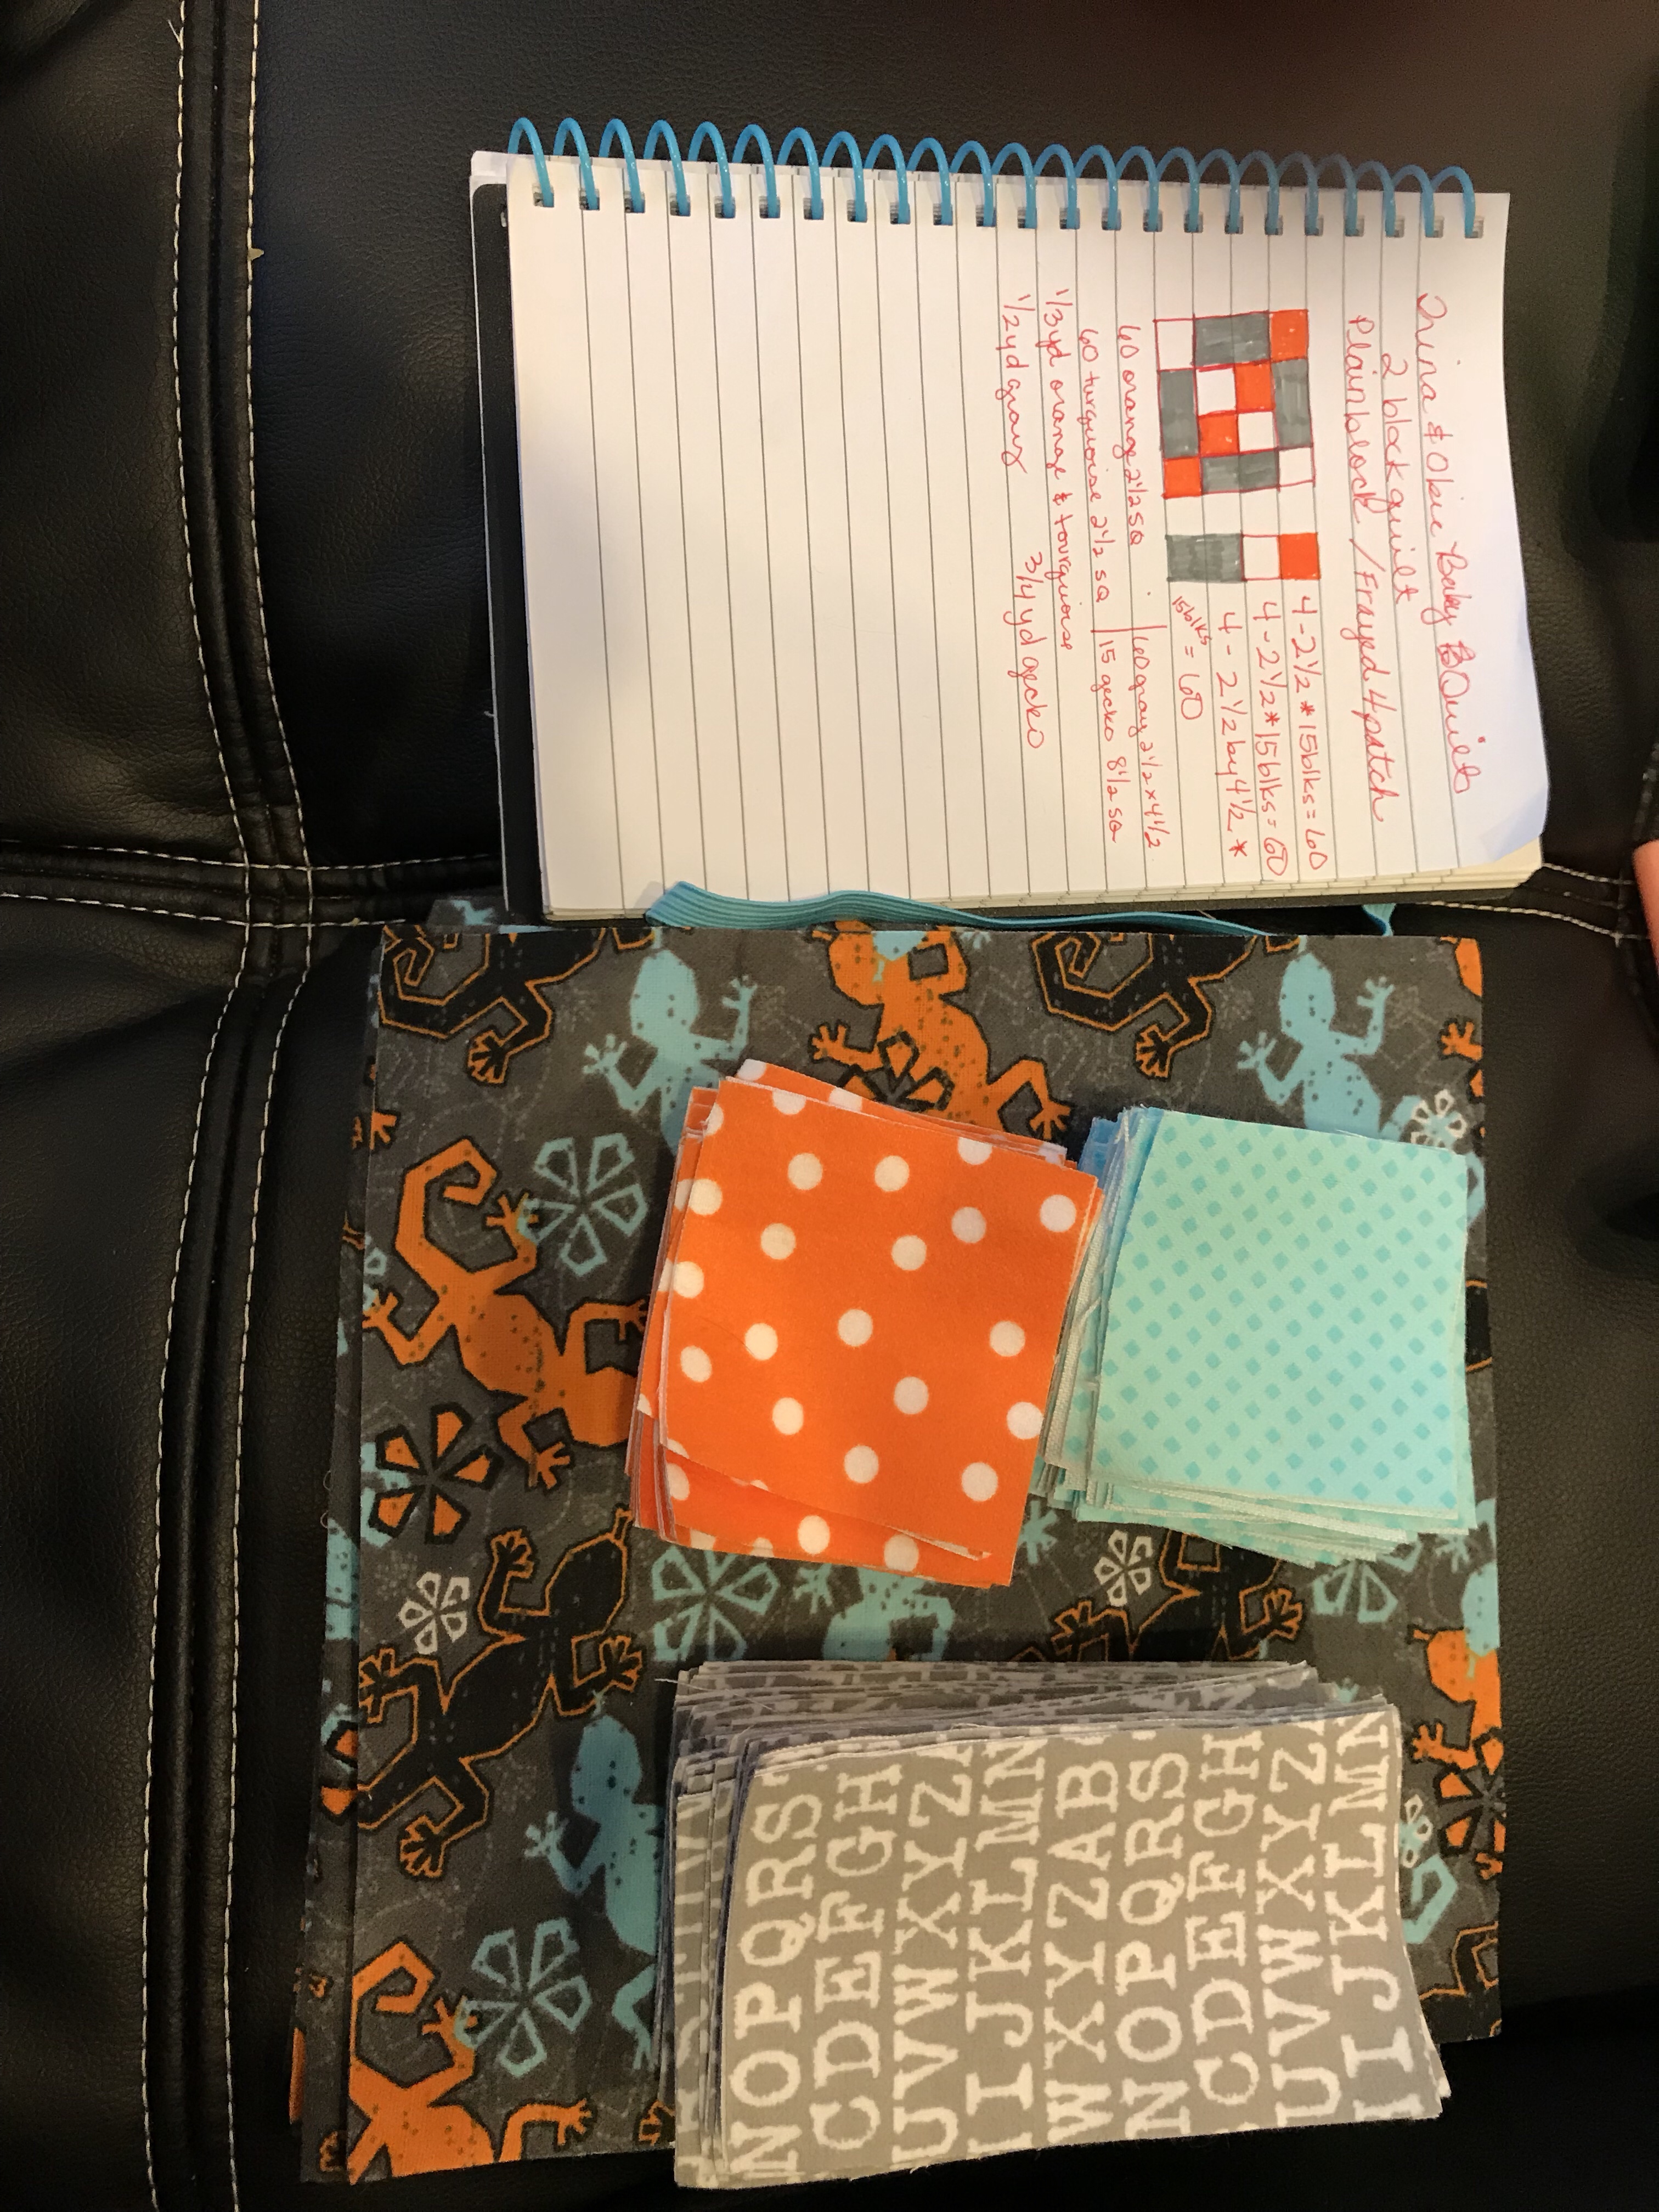
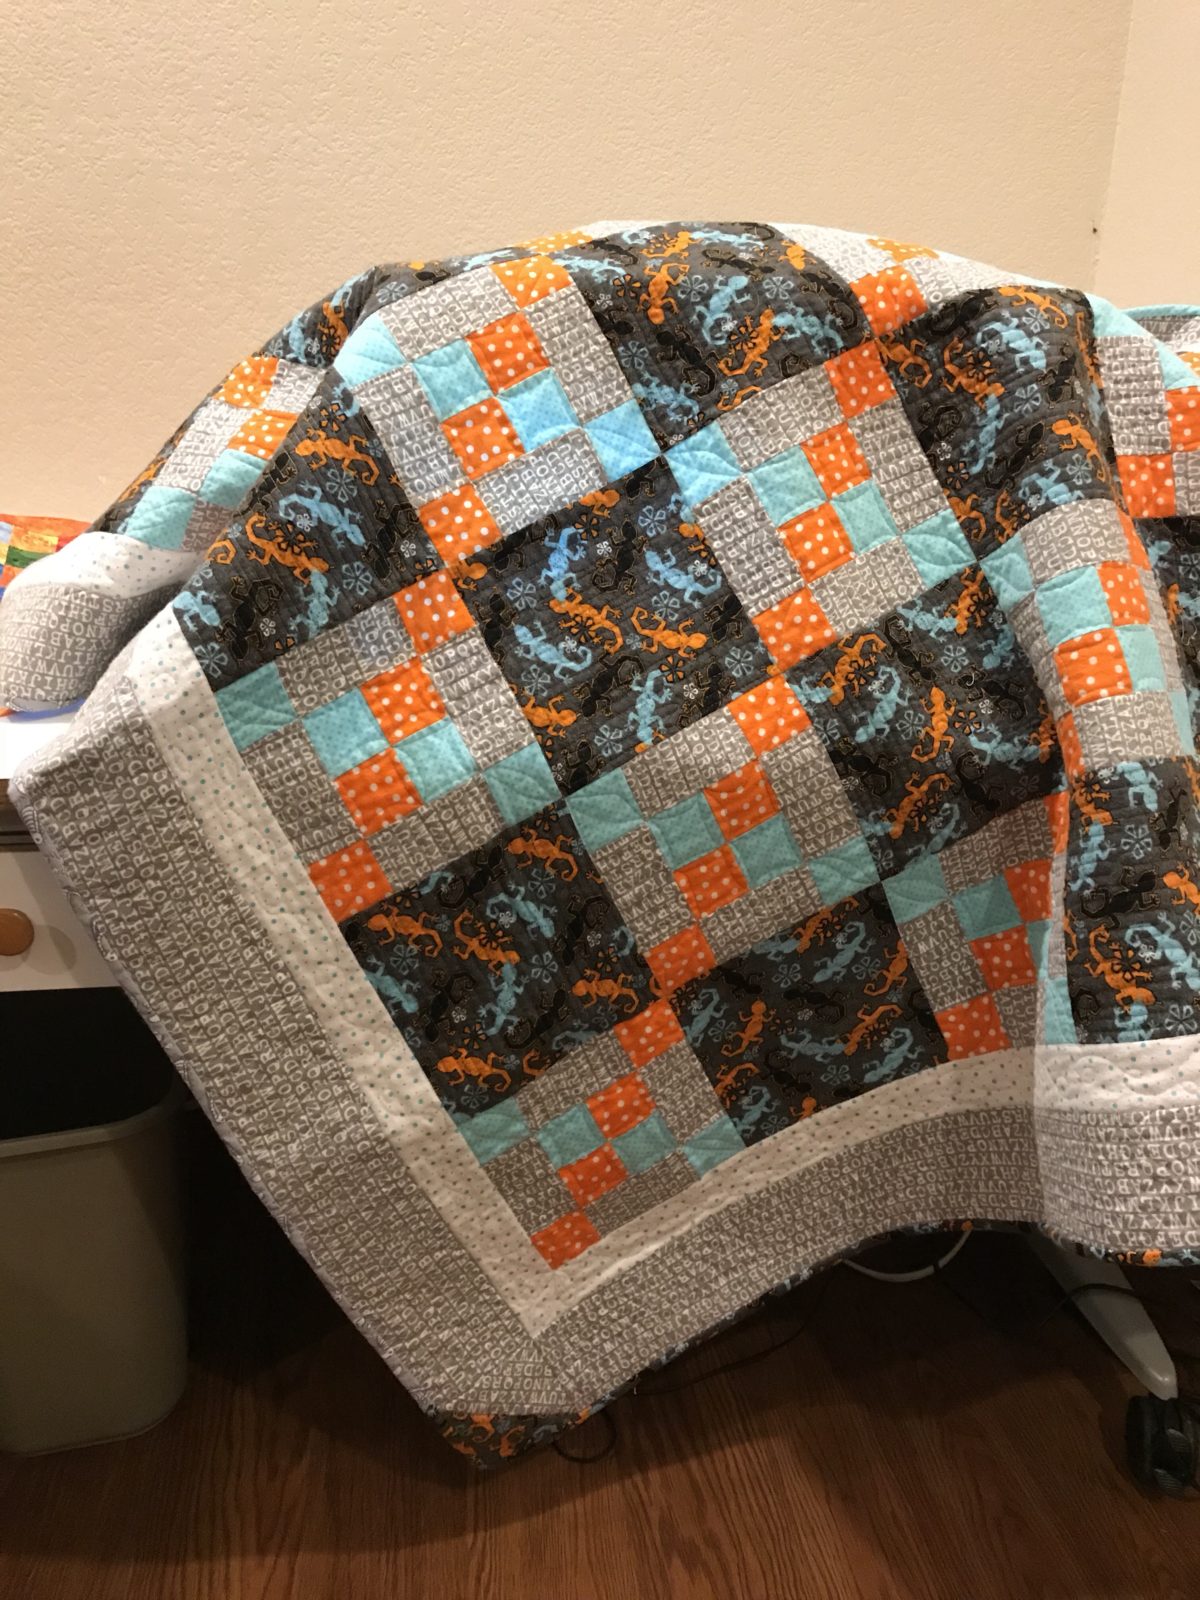
Unfinished block size should be 8.5 inches. You will have a total of 30 blocks layed out in a 5 by 6 block layout for a finished size of 40.5″ x 48.5″ before borders. I added a 2″ finished inner border and a 4″ finished outer border with corner stones that I decided on at the last minute. The corner stones were made with leftover pieced to 4.5″ unfinished size since I decided I wanted to give the impression of a round corner. The new finished size was 52.5″ x 60.5″
Trina originally was not very thrilled with the focus fabric when I sent it to her with 3 other possible choices but she wanted gray so this is what she went with (after a little convincing). I was thrilled because it was my first choice and since she was having a boy, I really felt it would be fun! Her main color was gray, so that predetermined the color of the rectangles. The accent colors could have been a number of different options. We could have used black, turquoise, white, or orange successfully. But I really like it to pop and I love throwing orange and yellow in quilts. Orange is a great neutral color that babies love. I auditioned a number of oranges and turquoises before I felt I found something that would not overwhelm my focus fabric. I wanted the color to pop, not the pattern itself. I was looking for blenders.
Picked out the fabrics and everything in October. October ended up being a big travel month so the quilt got put on hold. When I got back, I started cutting out all the pieces. I have an accuquilt, so to save myself time, I spent an hour cutting out ALL the pieces including my strips. It was nice to have 15 blocks already done! I just needed to sew together the frayed 4 patch blocks. We are always busy at my house with one kind of sporting event or another. It is challenging to get sewing time between work and family. I managed to get a few blocks sewen that weekend. I finished up the rest of the blocks the next weekend between activities. BUT come Monday, I had a pipe leak that flooded the crawl space under my house. I spent the next week dealing with water mitigation people, insurance people, and packers. They packed up my entire sewing room (except for some things that I managed to find time to save). It took another few weeks before I had an opportunity to set up a space to sew again to finish the baby quilt. By this time Trina was on maternity leave and the baby was due any moment. She texted me every 8 hours or so of that holdiay weekend to see how I was coming along as she was convinced that the baby was waiting on his quilt before he would be born. Earlier in the week, I had given her the receiving blanket and burp clothes that I had made during the summer for her. (Saved from the packers).
For those who are new, the quick and easy way to piece the Frayed 4 patch is to sew one 2.5″ orange square to one 2.5″ turquoise square (twice). Flip one of the 2.5″x4.5″ piece upside down matching the seams so that opposite colors are touching. Now you have a 4.5″ square. I usually iron after I piece the 4 patch with either the twirly method (all seams going in same direction after flatening the center) or open. Open is recommeded with flannel to reduce bulk. Now sew one gray rectangle on each end of your 4 patch. You have a middle row done. Sew one orange square and one turquoise square to each end of the gray rectangle – twice. Iron all pieces either open or to the rectangle. Iron all three rows together with all gray rectangles on the 4 patch. All orange should go diagonal one way and all turquoise go diagonal the other way. This blog isn’t necessarily meant to be a teaching blog at this time, but hopefully this is enough information to help you.
Now lay out the 30 squares, alternating between plain block and frayed 4patch, five blocks across and six down. Sew together the six blocks together to complete the row, then the rows together to complete the center of the quilt. Add your 2 inch border. At this point, since I want corner stones, I measure the length and width through the center. I cut (or pieced) the 4 inch border to the measured length (twice) and width (twice). Add lengthwise 4.5″ strips. Sew the 4.5″ cornerstones to each end of the width pieces and now to the center. Square up. Layer. Quilt. Add label. Bind. All done!